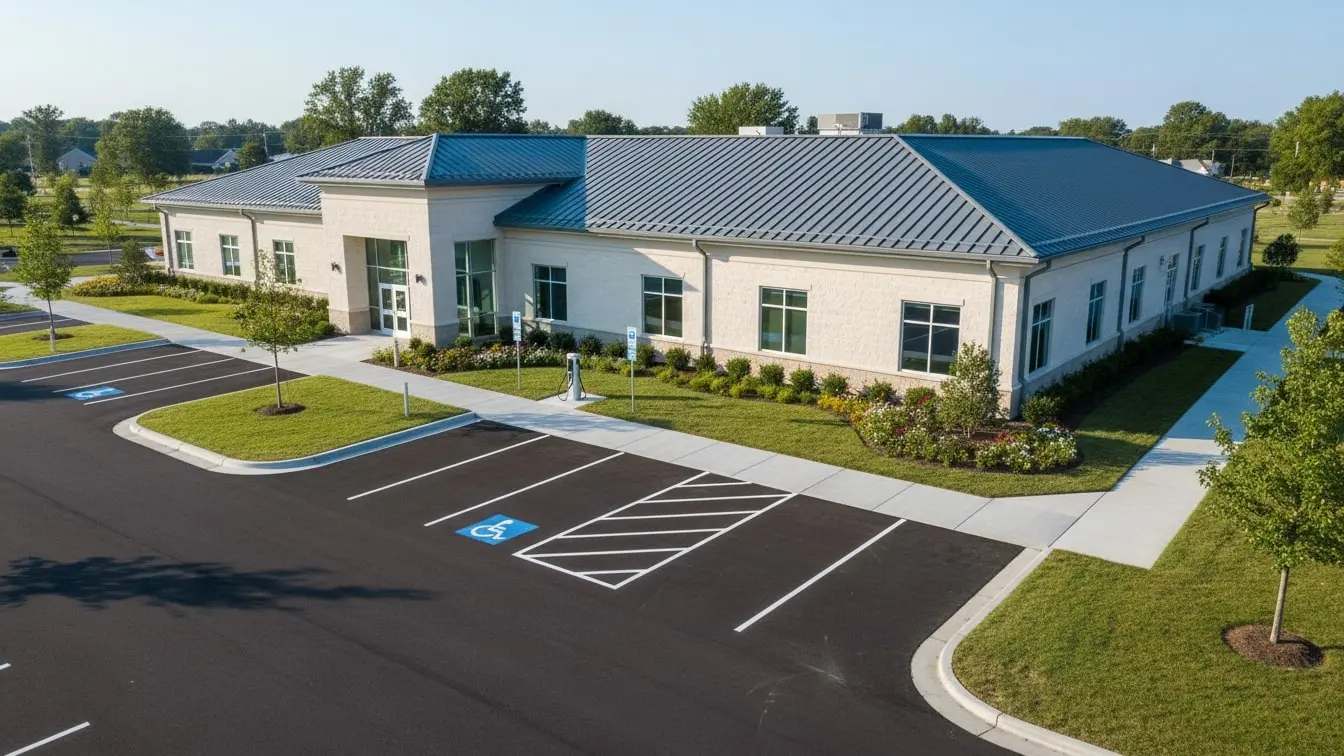
Building Inspection Checklist: Complete Guide for Safe and Reliable Property Inspections
A building needs regular inspection to stay safe, functional, and well maintained. Over time, small defects can appear in many areas. A crack may develop in a wall. A roof may start to leak. A drain may become blocked. Electrical equipment may wear out. Therefore, regular building inspections help teams find these issues before they become larger problems. A Building Inspection Checklist gives inspectors a clear way to review the condition of a property. Instead of relying on memory, inspectors can follow the same process each time. As a result, they can check important areas, record findings, add evidence, and track repairs more easily.
However, a useful checklist should do more than list building components. It should help inspectors understand what to look for and what to do when they find a problem. It should also support clear documentation and follow-up.
With eAuditor Audits & Inspections, organizations can turn a Building Inspection Checklist into a digital inspection workflow. Teams can customize inspection templates, complete inspections on mobile devices, capture photos and notes, assign corrective actions, and generate professional reports.
What Is a Building Inspection Checklist?
A Building Inspection Checklist is a structured tool used to assess the condition, safety, functionality, and maintenance needs of a building.
It guides an inspector through key areas of the property. These areas may include the foundation, structure, walls, roof, ceilings, floors, doors, windows, electrical systems, plumbing, HVAC, fire safety systems, and external areas.
The checklist can also cover housekeeping, accessibility, emergency exits, equipment, documentation, and maintenance records.
The exact checklist depends on the building. For example, a commercial office may need different checks from a warehouse, school, apartment building, hotel, or industrial facility.
Therefore, teams should use a standard structure while still allowing the checklist to match the building and its actual risks.
Why Is a Building Inspection Important?
A building inspection helps teams understand the current condition of a property.
First, it can identify visible defects. Next, it can help teams record maintenance needs. Then, it can support corrective action and future inspections.
For example, an inspector may notice water stains on a ceiling. The stain itself may not show the full problem. However, it can indicate a possible roof, plumbing, or drainage issue that needs further review.
Likewise, a damaged handrail may look like a small maintenance problem. Yet, it can create a fall hazard. Therefore, recording the issue early gives the responsible team a chance to correct it.
Regular inspections also help property owners and facility teams plan maintenance. Instead of waiting for equipment or building components to fail, teams can use inspection findings to plan repairs and improvements.
What Does a Building Inspection Cover?
A complete building inspection can cover both internal and external areas.
Typical inspection areas include:
- Building structure
- Foundation
- Walls
- Floors
- Ceilings
- Roof
- Doors
- Windows
- Stairs
- Handrails
- Electrical systems
- Plumbing
- HVAC systems
- Fire safety systems
- Emergency exits
- Lighting
- Drainage
- External walls
- Walkways
- Parking areas
- Landscaping
- Waste areas
- General housekeeping
- Maintenance records
The inspection should also consider the building's purpose and use. For instance, a public building may need more attention on access, emergency routes, and visitor safety. Meanwhile, a warehouse may require stronger focus on loading areas, storage systems, vehicle movement, and equipment.
Building Inspection Checklist: Basic Information
Start each inspection with basic information. This creates a clear record and makes later review easier.
Record details such as:
- Building name
- Building location
- Inspection date
- Inspection time
- Inspector name
- Building manager
- Property type
- Building area
- Inspection purpose
- Weather conditions where relevant
- Previous inspection date
- Previous open findings
These details also help teams compare inspection results over time.
Foundation and Structural Inspection
The foundation supports the building. Therefore, inspectors should pay close attention to visible signs of movement, damage, or deterioration.
Check for:
- Cracks
- Settlement
- Uneven surfaces
- Water damage
- Signs of movement
- Damaged structural components
- Deterioration
- Drainage problems around the foundation
Next, inspect visible structural elements such as columns, beams, slabs, and load-bearing components.
Look for cracks, deformation, corrosion, damage, or other visible changes.
However, inspectors should not treat a checklist as a substitute for specialist engineering assessment. When a serious structural concern appears, the organization should arrange an appropriate technical review.
Walls and Masonry
Walls can show signs of moisture, movement, impact, or general deterioration.
Inspectors should check:
- Cracks
- Bulging
- Dampness
- Water stains
- Peeling finishes
- Efflorescence
- Damaged masonry
- Loose materials
- Surface deterioration
- Signs of settlement
Record the location of each finding. For example, “crack in west corridor wall beside stairwell” provides more useful information than “wall crack.”
Also, add a photograph when it helps show the condition.
Roof Inspection
The roof protects the building from weather. Therefore, roof inspections should form an important part of a building inspection program.
Check for:
- Leaks
- Damaged roofing
- Ponding water
- Cracked membranes
- Damaged flashing
- Blocked drains
- Damaged gutters
- Loose materials
- Deteriorated seals
- Signs of moisture
- Unsafe roof access
Inspectors should also check whether roof drainage works properly. Water that remains on the roof can contribute to deterioration over time.
Where roof access creates a hazard, follow the site's required access and safety procedures.
Ceiling Inspection
Ceilings can reveal problems that may not be visible elsewhere.
Check for:
- Water stains
- Sagging
- Cracks
- Damaged tiles
- Loose panels
- Mold or dampness
- Openings
- Signs of leaks
- Damaged fixtures
If a ceiling shows water damage, record the location and investigate the possible source.
Do not simply replace a damaged ceiling tile and close the finding. The underlying cause may still exist.
Floor Inspection
Floors should remain safe and suitable for their intended use.
Inspect for:
- Cracks
- Uneven surfaces
- Damaged tiles
- Loose flooring
- Slippery areas
- Holes
- Worn surfaces
- Water damage
- Trip hazards
Also, inspect transitions between different floor surfaces. Small changes in height can create trip hazards, especially in busy areas.
Doors and Windows
Doors and windows affect security, access, ventilation, comfort, and safety.
Inspectors should check whether doors and windows open and close correctly. Also, check frames, locks, hinges, seals, glazing, and visible damage.
Emergency doors deserve special attention. They should remain accessible and should not have unauthorized obstructions.
Fire-rated doors should also receive appropriate checks based on the building's requirements.
Stairways and Handrails
Stairs can create significant fall risks when they become damaged or poorly maintained.
Check:
- Steps
- Treads
- Risers
- Handrails
- Guardrails
- Landings
- Lighting
- Obstructions
- Surface condition
- Signs of damage
Make sure handrails remain secure. Also, check whether stairways remain clear.
If a stairway has a defect, record the exact location and describe the issue clearly.
Electrical System Inspection
Electrical systems require regular checks because damage, poor maintenance, and unsafe conditions can create serious risks.
A building inspection can review visible electrical components such as:
- Distribution panels
- Switchboards
- Sockets
- Switches
- Wiring
- Cable routes
- Lighting
- Emergency lighting
- Electrical equipment
- Labels
- Visible damage
Look for damaged cables, exposed wiring, overloaded outlets, missing covers, poor labeling, or other visible concerns.
Where specialized electrical testing is required, use a suitably qualified person and the appropriate inspection process.
Plumbing and Sanitary Systems
Plumbing problems can cause water damage, hygiene problems, and disruption.
Check:
- Water supply
- Pipes
- Valves
- Fixtures
- Toilets
- Sinks
- Drains
- Water heaters
- Leaks
- Water pressure where relevant
- Blockages
- Visible corrosion
Pay attention to areas below sinks and around plumbing connections. Small leaks can remain hidden for a long time.
Also, inspect drainage areas. Blocked or damaged drainage can lead to standing water and building deterioration.
HVAC and Mechanical Systems
Heating, ventilation, and air conditioning systems support building comfort and indoor conditions.
Inspect visible equipment and related areas for:
- Damage
- Leaks
- Blocked vents
- Dirty filters
- Poor airflow
- Damaged insulation
- Unusual noise
- Condensation
- Maintenance needs
Check whether required maintenance records are available.
However, the inspection should match the inspector's role and qualifications. Specialized mechanical testing may require a qualified technician.
Fire Safety Inspection
Fire safety should remain a major part of building inspections.
Check:
- Fire alarms
- Smoke detectors
- Fire extinguishers
- Sprinklers
- Fire hydrants
- Emergency lighting
- Exit signs
- Fire doors
- Evacuation routes
- Assembly areas
- Access to emergency equipment
Emergency exits should remain clear.
Likewise, fire equipment should remain accessible and visibly identified.
If an item fails inspection, record the specific issue and assign the required action.
Emergency Exits and Evacuation Routes
An emergency route is only useful when people can use it.
Inspect corridors, stairs, exits, doors, and access routes. Look for stored materials, equipment, furniture, waste, or other obstructions.
Also, check exit signs and emergency lighting where applicable.
Because building conditions can change during the day, inspectors should assess routes in real working conditions rather than relying only on previous inspection results.
Interior Areas and General Condition
A building inspection should also review general interior conditions.
Inspect:
- Walls
- Floors
- Ceilings
- Fixtures
- Lighting
- Furniture where relevant
- Storage
- Common areas
- Corridors
- Meeting rooms
- Offices
- Kitchens
- Restrooms
Look for visible damage, poor maintenance, unsafe conditions, or issues that could affect building users.
External Building Areas
The inspection should continue outside the building.
Check:
- External walls
- Pathways
- Drainage
- Parking areas
- Driveways
- Gates
- Fences
- Boundary walls
- External lighting
- Landscaping
- Signage
- Waste areas
- Loading areas
Pay particular attention to trip hazards and damaged surfaces.
Also, check whether water drains away from the building properly.
Building Envelope Inspection
The building envelope separates the interior environment from external conditions.
Inspect visible parts of the envelope, including:
- External walls
- Roof
- Windows
- Doors
- Sealants
- Joints
- Flashing
- Insulation where accessible
- Drainage
- Waterproofing components
Water entry often creates problems that grow over time. Therefore, early detection can support better maintenance planning.
eAuditor's Building Envelope Inspection guidance also emphasizes systematic inspection, building plans, checklists, recording findings, and assigning actions.
Accessibility and User Safety
Buildings should provide safe access for their intended users.
Depending on the property, review:
- Accessible entrances
- Ramps
- Handrails
- Accessible routes
- Doorways
- Signage
- Lighting
- Restroom access
- Parking access
The exact requirements depend on the building and applicable rules. Therefore, the checklist should reflect the standards and requirements relevant to the property.
Building Housekeeping
Good housekeeping supports safe and efficient building use.
Check whether:
- Corridors remain clear
- Waste is removed
- Storage areas remain organized
- Floors remain clean
- Spillages are addressed
- Supplies are stored safely
- Common areas remain orderly
- Equipment does not block access
A clean building is not automatically a safe building. Therefore, housekeeping checks should sit alongside structural, mechanical, electrical, and safety checks.
Maintenance Records and Documentation
A building inspection should also review important records.
Depending on the building, documentation may include:
- Previous inspection reports
- Maintenance records
- Repair records
- Equipment service records
- Fire safety records
- Electrical inspection records
- Plumbing records
- HVAC maintenance records
- Emergency plans
- Contractor reports
- Certificates
- Corrective action records
Good documentation helps teams understand the building's history.
It also makes recurring issues easier to identify.
How to Document Building Inspection Findings
Clear documentation makes a major difference.
Avoid writing:
“Roof problem.”
Instead, write:
“Water staining is visible on the ceiling below the west roof section. Inspect the roof surface and drainage above this area to identify the source.”
The second description gives the maintenance team a much better starting point.
Every finding should provide enough information for someone else to understand the issue.
Where appropriate, include:
- Location
- Condition
- Potential concern
- Evidence
- Recommended action
- Responsible person
- Target date
Use Photos as Supporting Evidence
Photos can make inspection reports much clearer.
For example, an inspector can photograph:
- Wall cracks
- Roof damage
- Water stains
- Damaged flooring
- Electrical defects
- Plumbing leaks
- Blocked exits
- Damaged handrails
- External surface damage
However, the photo should support a written observation.
A clear note explains what the inspector found. The image then provides visual evidence.
Rate Building Inspection Findings
A building inspection may identify many findings. Therefore, teams need a consistent way to prioritize them.
A simple system may classify findings as:
- Good
- Fair
- Poor
- Pass
- Fail
- Observation
- Not Applicable
More detailed systems can use risk or severity levels.
The important point is consistency. If inspectors use different standards, management may struggle to compare results.
Assign Corrective Actions
An inspection has limited value if findings remain open.
Once an issue appears, assign a clear action.
For example:
“Repair damaged handrail on second-floor east stairway.”
This is better than:
“Fix handrail.”
A clear action tells the responsible person what needs attention and where.
Where appropriate, include a deadline and track completion.
How eAuditor Audits & Inspections Handles Building Inspections
eAuditor Audits & Inspections provides a digital workflow for building inspections. The platform can help teams create or customize a Building Inspection Checklist and then use it during the actual inspection.
The verified eAuditor Building Inspection guide covers major building components such as foundations, structural elements, walls, roofs, doors, windows, electrical systems, plumbing, HVAC, fire safety, interior finishes, and external areas. It also describes digital evidence capture, corrective actions, reporting, and inspection history.
This approach helps replace scattered inspection notes with a structured process.
Start With a Building Inspection Template
Teams can start with an existing eAuditor Building Inspection template and adapt it to their property.
A useful template can include:
- General building information
- Foundation and structure
- Walls and masonry
- Roof
- Ceilings
- Floors
- Doors and windows
- Stairs and handrails
- Electrical systems
- Plumbing
- HVAC
- Fire safety
- Emergency exits
- Interior areas
- External areas
- Building envelope
- Accessibility
- Housekeeping
- Documentation
- Corrective actions
- Final review
This structure gives inspectors a logical path through the property.
Conduct the Inspection Digitally
During the inspection, the inspector can work through the checklist while moving through the building.
Instead of writing notes on paper and transferring them later, the inspector can record findings as they appear.
eAuditor's Building Inspection workflow describes mobile inspection, offline capability, photos, predefined response options, measurements, observations, and digital documentation.
As a result, teams can reduce duplicate data entry and keep inspection information together.
Capture Evidence During the Inspection
When an inspector finds a defect, they can document it immediately.
For example, a wall crack can be recorded with a written observation and supporting image. Likewise, a damaged electrical panel or blocked emergency exit can receive clear documentation at the point of inspection.
This helps keep evidence connected to the correct inspection item.
Assign Corrective Actions in eAuditor
eAuditor can also connect inspection findings with corrective actions.
Once a problem is recorded, the organization can assign responsibility and establish a target date. The team can then track progress until the issue is closed.
This creates a simple process:
Finding → Action → Responsibility → Completion → Verification
Therefore, the inspection becomes part of a wider maintenance and improvement process.
Generate Building Inspection Reports
After completing the inspection, teams need a report that people can understand and use.
eAuditor's Building Inspection workflow supports automated report generation with findings, images, notes, and compliance information. The reports can then be shared digitally for review.
This saves time and helps managers review the condition of the building without sorting through separate paper forms.
Track Inspection History
A building should not be inspected as if it has no history.
Previous findings can provide useful context. For example, if the same roof leak appears in several inspections, the team may need to address the underlying cause rather than repeatedly record the symptom.
Digital records make these patterns easier to review.
eAuditor's building inspection guidance also highlights digital recordkeeping and historical inspection data as part of ongoing condition monitoring.
Use Building Inspections for Preventive Maintenance
Building inspections can support preventive maintenance planning.
Suppose inspectors repeatedly find damaged seals around windows. The organization may decide to review the condition of all windows rather than repairing only one.
Similarly, repeated drainage issues may show that a wider maintenance review is needed.
Therefore, inspection data can help teams move from reactive repairs toward planned maintenance. https://eauditor.app/2026/09/23/building-inspection-checklist-complete-guide/


Comments
Post a Comment