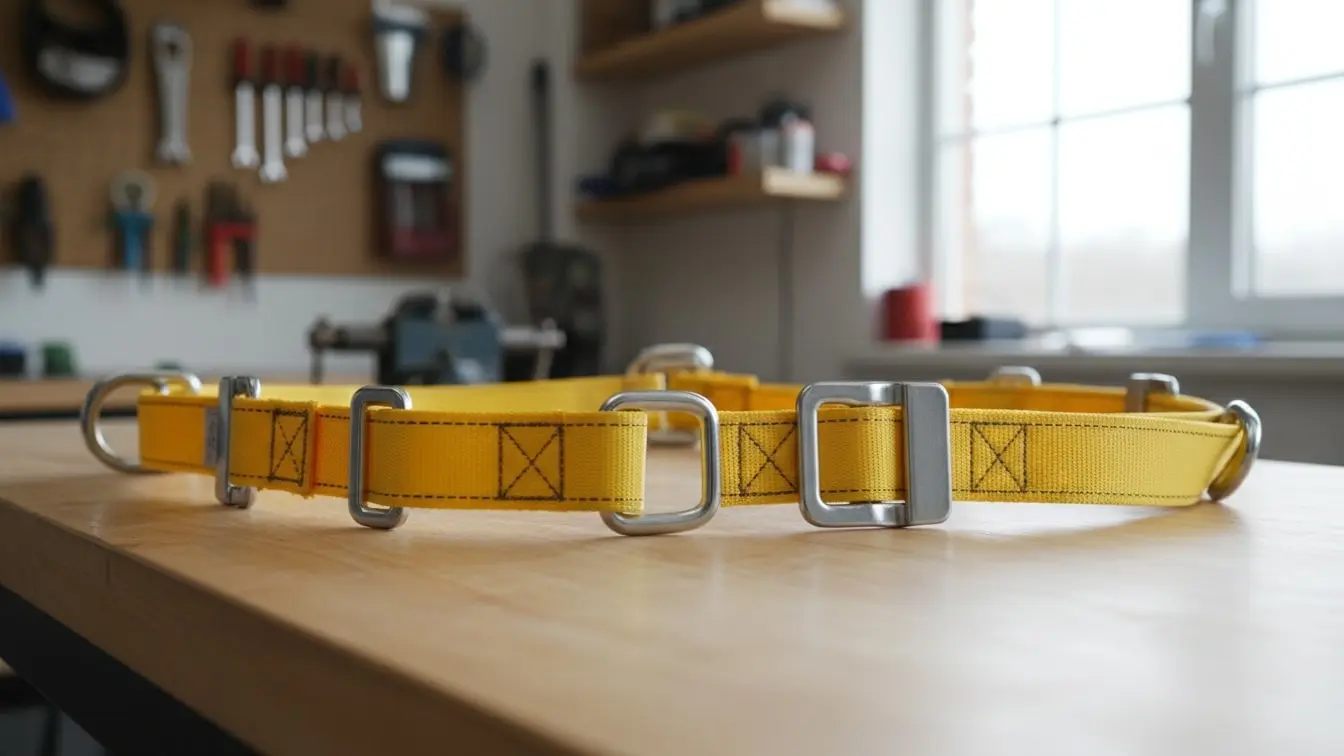
Full Body Harness Annual Inspection: Complete Guide for Safe Fall Protection
Working at height creates serious risks. Therefore, workers need reliable fall protection equipment that they can trust. A full-body harness plays a key role in that system. However, even a good harness can wear out, become damaged, or lose important identification details over time. That is why a Full Body Harness Annual Inspection matters.
An annual inspection gives safety teams a structured way to review the full condition of a harness. It also helps teams spot damage before the equipment is needed in an emergency. In addition, a clear inspection record helps supervisors track equipment history, findings, and corrective actions.
A good inspection should not focus only on the webbing. Instead, it should cover the entire harness. This includes stitching, buckles, D-rings, straps, labels, adjustment points, attachment points, and overall condition. Furthermore, teams should record defects clearly and remove equipment from service when required by their procedures and the manufacturer's instructions.
With eAuditor Audits & Inspections, teams can turn this process into a simple digital workflow. Inspectors can use a structured checklist, capture findings, add photos, assign corrective actions, and create a clear inspection report.
What Is a Full Body Harness Annual Inspection?
A Full Body Harness Annual Inspection is a detailed review of a full-body harness at the required periodic interval. The inspection checks whether the equipment remains in suitable condition for its intended use.
The inspection should follow the manufacturer's instructions, workplace procedures, and any applicable requirements. Moreover, the annual inspection should form part of a wider inspection program. Workers may still need to complete pre-use checks, while competent or appropriately trained personnel may need to complete periodic inspections.
The goal is simple. Find problems before they become dangerous.
A proper annual inspection can help identify:
- Cuts and tears
- Frayed webbing
- Broken fibers
- Burns
- Chemical damage
- UV-related deterioration
- Damaged stitching
- Bent or damaged D-rings
- Damaged buckles
- Corrosion
- Faulty adjustment mechanisms
- Missing or unreadable labels
- Damaged attachment points
- Signs of impact
- Contamination
- Poor storage conditions
Therefore, the inspection should be systematic and easy to repeat.
Why Is an Annual Full Body Harness Inspection Important?
A harness may look fine at first glance. However, small defects can be easy to miss. For example, a few damaged fibers may not look serious, yet they can indicate deterioration of the webbing.
Likewise, a buckle may appear usable while its locking or adjustment function has become unreliable. Similarly, damaged stitching near a critical attachment point deserves careful attention.
An annual inspection gives the organization a formal opportunity to review the equipment in detail.
It helps teams:
- Find damage early.
- Maintain inspection records.
- Identify equipment that needs removal from service.
- Track recurring defects.
- Improve equipment storage.
- Support safer work-at-height practices.
- Assign corrective actions.
- Maintain better equipment records.
- Improve accountability.
- Build a clear inspection history.
Most importantly, the inspection creates a consistent process. Instead of relying on memory or a quick visual glance, inspectors can follow the same inspection points every time.
Annual Inspection vs. Pre-Use Inspection
These inspections serve different purposes.
A pre-use inspection provides a quick check before the worker relies on the harness. It helps identify obvious damage, contamination, missing components, or other issues.
An annual or periodic inspection provides a more detailed review. It can include a closer examination of every major component and a review of identification and inspection history.
Therefore, one inspection does not replace the other.
A strong fall protection program can use:
- Pre-use inspections
- Periodic inspections
- Annual inspections where required
- Post-event inspections
- Additional inspections after suspected damage
- Inspections after storage or environmental exposure when appropriate
If a harness has been involved in a fall arrest event or has suffered suspected impact, do not simply wait for the next annual inspection. Follow the manufacturer's instructions and your organization's procedure for removing and assessing the equipment.
What Should a Full Body Harness Annual Inspection Include?
A complete inspection should cover the whole harness from top to bottom. Inspectors should also record enough information to identify the exact piece of equipment.
1. Equipment Identification
Start by recording the basic equipment details.
Include:
- Manufacturer
- Model
- Serial number
- Asset number
- Size
- Date of manufacture, where available
- Date placed into service, where tracked
- Inspection date
- Inspector name
- Work location
- User or assigned worker, where required
Clear identification prevents confusion. It also makes future inspections much easier.
2. Webbing Inspection
Next, inspect the complete length of the webbing.
Do not check only the areas that are easiest to see. Instead, inspect all straps carefully.
Look for:
- Cuts
- Tears
- Fraying
- Broken fibers
- Abrasion
- Burns
- Heat damage
- Chemical damage
- UV deterioration
- Stiffness
- Brittleness
- Discoloration
- Unusual wear
Run the inspection across the full length of the straps. Also, pay extra attention to areas near buckles, attachment points, and stitching.
If the webbing shows serious damage, follow the approved process for removing the harness from service.
3. Stitching Inspection
Stitching holds important sections of the harness together. Therefore, inspect every critical stitched area.
Check around:
- D-rings
- Shoulder straps
- Chest straps
- Leg straps
- Attachment points
- Reinforcement areas
Look for loose threads, broken stitching, pulled stitches, fraying, or other signs of damage.
Do not ignore a small stitching defect without assessing it. Instead, record the finding and follow the manufacturer's requirements.
4. Buckles and Adjustment Hardware
Inspect every buckle and adjustment mechanism.
Check that:
- Buckles are not cracked.
- Buckles are not bent.
- Adjustment mechanisms operate correctly.
- Straps move correctly through the hardware.
- Locking mechanisms work as intended.
- Hardware does not show serious corrosion.
- Components remain securely attached.
Furthermore, confirm that the harness can be adjusted correctly for the intended user.
5. D-Ring Inspection
D-rings form important connection points within a fall protection system.
Inspect them for:
- Cracks
- Bending
- Deformation
- Corrosion
- Sharp edges
- Excessive wear
- Loose connections
- Other visible damage
The D-ring should remain in its intended position and should not show signs of damage that could affect its function.
6. Shoulder, Chest, and Leg Straps
Inspect each strap separately.
Look for wear, cuts, fraying, burns, contamination, and damage.
Then, check whether the straps adjust correctly.
A harness must fit the worker correctly. Therefore, the inspection should confirm that the straps can be adjusted and secured as intended.
7. Labels and Identification Tags
Labels provide important information about the equipment.
Check that labels are:
- Present
- Secure
- Legible
- Easy to read
- Not badly damaged
Record available information such as the manufacturer, model, serial number, inspection information, and other product details.
If important identification information is missing or unreadable, follow the manufacturer's and organization's procedures before allowing the equipment back into service.
8. Attachment Points
Inspect all attachment points carefully.
Check for:
- Damage
- Deformation
- Corrosion
- Loose connections
- Cracks
- Unusual wear
Also, confirm that the attachment points remain properly connected to the harness.
9. Lanyard and Connector Attachments
If the inspection includes the complete fall protection system, review the lanyard and connector attachment points as well.
Check whether the connection is secure and whether the connector operates correctly.
Also inspect the associated equipment for damage. A harness should not be assessed in isolation when the inspection process covers the complete fall protection setup.
10. Overall Condition
Finally, review the harness as a complete item.
Ask:
- Does the harness show unusual wear?
- Has it been exposed to chemicals?
- Has it been exposed to heat?
- Has it been exposed to excessive sunlight or harsh conditions?
- Does it show signs of impact?
- Has it been stored correctly?
- Are all components present?
- Are all labels readable?
- Can the harness be adjusted correctly?
- Is there any reason to question its suitability?
This final review helps inspectors catch issues that individual checklist questions may not reveal.
Common Full Body Harness Defects
Harness defects can appear in many forms. Some are easy to see, while others require a closer inspection.
Common findings include:
- Frayed webbing
- Cut straps
- Torn webbing
- Broken fibers
- Burn marks
- Chemical stains
- Brittle material
- Damaged stitching
- Bent D-rings
- Corroded metal parts
- Broken buckles
- Damaged adjustment points
- Missing labels
- Unreadable identification
- Contamination
- Signs of impact
- Improper storage damage
Therefore, inspectors should record the exact location and nature of each finding.
A clear finding is much more useful than a vague note such as "harness damaged."
Instead, record what the inspector saw and where it occurred. Then, attach a photo when useful.
What Happens When a Defect Is Found?
A defect should lead to a clear response.
First, record the finding. Next, determine whether the equipment should be removed from service. Then, follow the manufacturer's instructions and your organization's approved process.
Depending on the finding, the action may involve:
- Recording the defect.
- Adding supporting photos.
- Identifying the equipment.
- Removing the harness from service when required.
- Notifying the responsible person.
- Arranging an approved assessment.
- Repairing or replacing the equipment when permitted.
- Recording the final action.
- Completing a follow-up review.
Most importantly, do not allow questionable equipment to remain in service simply because the defect appears small.
How to Document a Full Body Harness Annual Inspection
Good documentation should tell the story of the inspection.
The record should show:
- What equipment was inspected
- Who inspected it
- When the inspection occurred
- Where the inspection occurred
- What components were checked
- What findings were recorded
- What evidence was captured
- What action was required
- Who received the action
- When the action was due
- Whether the action was completed
- What the final equipment status was
This approach makes the inspection easier to review later.
It also helps managers compare inspection results across different workers, sites, and equipment groups.
How eAuditor Audits & Inspections Handles Full Body Harness Annual Inspection
eAuditor Audits & Inspections can turn a paper-based harness inspection into a structured digital process. Its verified Full Body Harness Inspection workflow covers key areas such as webbing, stitching, buckles, D-rings, labels, straps, attachment points, findings, corrective actions, and reporting.
Build a Digital Harness Inspection Checklist
Teams can start with an eAuditor harness inspection template or customize a checklist around their own equipment.
For example, the checklist can include sections for:
- Equipment identification
- Webbing
- Stitching
- Buckles
- D-rings
- Straps
- Labels
- Attachment points
- Overall condition
- Corrective action
- Final inspection status
This structure helps inspectors follow the same process each time.
Record Each Inspection Point
Instead of writing notes on paper, inspectors can record results directly in the digital checklist.
For example, each inspection point can use clear response options such as:
- Good
- Pass
- Needs attention
- Needs repair
- Replace
- Not applicable
This makes results easier to understand.
Moreover, eAuditor's verified safety harness workflow supports recording component conditions and adding photos of defects.
Capture Photos of Defects
Photos can provide useful evidence.
For example, an inspector may find frayed webbing near a leg strap. Rather than relying on a short written note, the inspector can attach a photo to the finding.
This creates a clearer record for:
- Safety managers
- Supervisors
- Maintenance teams
- Equipment managers
- Auditors
Therefore, evidence stays connected to the inspection result.
Assign Corrective Actions
Finding a defect is only the first step.
eAuditor can help teams create corrective actions for issues found during the inspection. Teams can assign responsibilities, set deadlines, and monitor progress.
For example:
Finding: Damaged stitching near the leg strap.
Action: Remove harness from service and follow the approved replacement process.
Responsible person: Safety supervisor.
Follow-up: Confirm replacement and update equipment records.
This approach creates accountability and reduces the chance that findings will remain unresolved.
Generate Professional Inspection Reports
Once the annual inspection is complete, teams can generate an inspection report.
The report can provide a clear record of:
- Inspection details
- Equipment information
- Inspection results
- Findings
- Photos
- Comments
- Corrective actions
- Final status
Therefore, supervisors can review the inspection without sorting through paper forms.
Schedule Recurring Inspections
Annual inspections should not depend on memory.
eAuditor supports scheduling recurring inspections, which can help teams maintain a planned inspection cycle. Its verified full-body harness workflow specifically describes scheduling regular harness inspections.
Teams can therefore create a repeatable process for equipment reviews.
Track Harness Inspection History
Digital records also make it easier to review past inspections.
For example, managers can look at previous findings and identify recurring problems.
They may discover that:
- Certain harnesses need frequent replacement.
- Some storage areas cause more damage.
- Certain teams report more equipment defects.
- Specific equipment models need closer monitoring.
- Some corrective actions remain open too long.
As a result, inspection data can support better equipment management.
Support Work at Height Safety
eAuditor's Library also includes site inspection content that checks fall protection equipment, documented training, equipment inspection, and equipment tags.
This means teams can use harness inspections as part of a wider work-at-height safety program rather than treating the harness inspection as an isolated task.
Sample Full Body Harness Annual Inspection Checklist
Equipment Information
- Inspection date recorded
- Inspector identified
- Location recorded
- Manufacturer recorded
- Model recorded
- Serial number recorded
- Asset number recorded
- Size recorded
- Date of manufacture recorded where available
- Date placed into service recorded where required
Webbing
- Webbing is free from cuts
- Webbing is free from tears
- No excessive fraying
- No broken fibers
- No severe abrasion
- No burn damage
- No chemical damage
- No unusual stiffness
- No brittleness
- No concerning discoloration
Stitching
- Stitching is intact
- No broken threads
- No pulled stitches
- No excessive fraying
- Reinforcement areas are intact
- D-ring stitching is intact
- Chest strap stitching is intact
- Leg strap stitching is intact
Buckles and Hardware
- Buckles are not cracked
- Buckles are not deformed
- Adjustment mechanisms operate correctly
- Slide bars operate correctly
- Hardware is secure
- No serious corrosion is visible
- Straps adjust correctly
D-Rings and Attachment Points
- D-rings are not cracked
- D-rings are not bent
- D-rings are not deformed
- No serious corrosion is present
- Attachment points are secure
- No unusual wear is visible
Labels
- Manufacturer label is present
- Model information is readable
- Serial number is readable
- Inspection information is available
- Required warnings remain legible
- Identification is secure
Overall Condition
- Harness is clean enough for inspection
- No harmful contamination is present
- No signs of impact are visible
- Harness has been stored correctly
- All required components are present
- Harness can be adjusted correctly
- Overall condition is acceptable
- Final status is recorded
Corrective Actions
- Defects are recorded
- Photos are attached where useful
- Equipment is removed from service when required
- Responsible person is assigned
- Due date is recorded
- Replacement or approved action is documented
- Follow-up is completed
- Final status is verified
Best Practices for Full Body Harness Annual Inspections
Use the Same Process Every Time
A consistent checklist reduces missed inspection points.
Therefore, use a standard inspection sequence for every harness.
Inspect the Entire Harness
Do not focus only on the webbing. Check hardware, stitching, labels, straps, attachment points, and overall condition.
Keep Equipment Identifiable
Serial numbers and asset numbers make equipment tracking easier.
They also help teams connect an inspection report to the correct harness.
Use Photos for Important Findings
A photo can make a defect much easier to understand.
Therefore, attach photos when they add useful evidence.
Follow Manufacturer Instructions
Inspection, cleaning, storage, repair, and retirement requirements can vary by product.
Always follow the applicable manufacturer's instructions and your organization's approved process.
Train Inspectors
Inspectors need to understand the equipment they inspect.
They should know what normal wear looks like and what conditions require further action or removal from service.
Keep Records Easy to Find
Inspection records should be available to the people responsible for safety and equipment management.
Digital records make this much easier than scattered paper forms.
Common Mistakes to Avoid
Treating the Annual Inspection as the Only Inspection
An annual review does not remove the need for required pre-use checks or other inspections.
Instead, build a complete inspection program.
Inspecting Only the Webbing
Webbing is important, but it is not the only part that matters.
Always check hardware, stitching, labels, straps, and attachment points.
Ignoring Small Defects
A small defect can deserve attention.
Therefore, record unusual wear instead of ignoring it.
Failing to Record Equipment Identity
A report without a serial number or asset number can become difficult to link to the correct harness.
Always record identifying information where available.
Using Vague Findings
"Damaged" does not provide much useful detail.
Instead, describe the location and type of damage. https://eauditor.app/2026/09/28/full-body-harness-annual-inspection-complete-guide/


Comments
Post a Comment